How Tape Can Help You Practice Pitching
Pittsburgh just got its first snow of the year! Unless you’re in a warm place, you’re probably stuck in a gym for at least 2-3 more months. There aren’t many advantages to pitching on a gym floor, but there is one: TAPE! Today you’re going to learn how some strategically placed tape strips can aid your pitching practice.
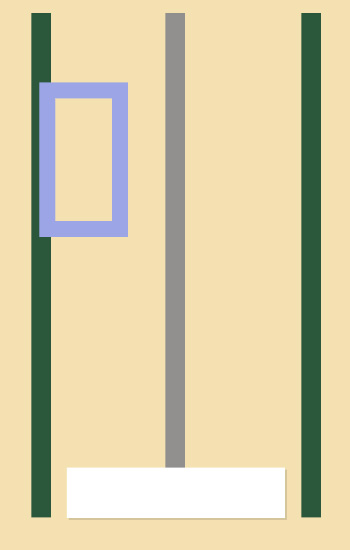
Basic tape
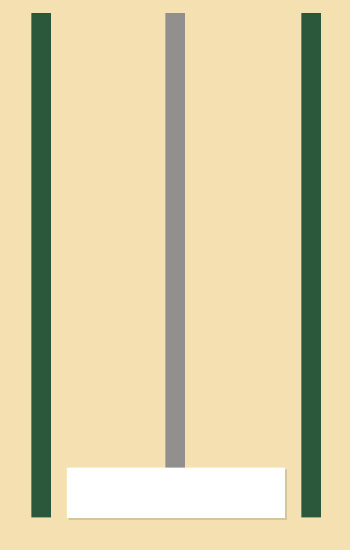
If you have a pitching mat, you may already have these lines. If you’re pitching right on the floor, you can lay down this tape yourself. From the rubber (or tape line representing the rubber), these are your power line and your pitching boundaries. Legally, you’re only allowed to pitch inside the width of the rubber, but if you give yourself a few extra inches like this, no umpire is going to notice. If you’re pitching OUTSIDE this barrier that I’ve illustrated, you’ve got a problem; not only is it illegal, I guarantee it’s affecting your balance.
Use these basic lines to check your balance, which is a good indication of your vertical stacking. If you’re crossing over the power line with your stride on a fastball, there is probably something wrong with your stride or track. If you’re finishing very far off to the sides, you’re probably leaning or off balance. You should finish balanced and close to the power line.
You can also use these lines to check your forearm fire. If you’re throwing inside or outside a lot, see where your hand is in relation to the power line when you finish a pitch.
Measure your stride
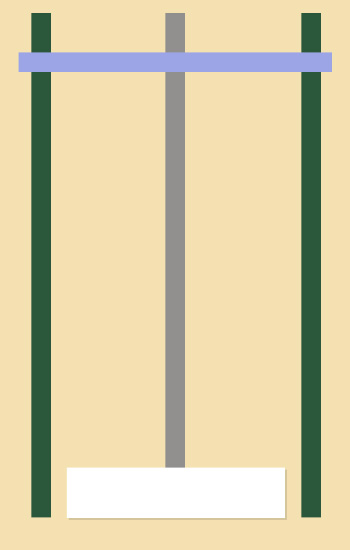
Throw one fastball and have a parent or coach mark where you land, then put some tape there. This is good for two types of pitchers:
- Pitchers learning to push harder: after you put your stride tape down, work on using your push leg to push your toes over the tape line, working up to making your stride longer and longer.
- Pitchers whose strides are too long: If your stride is so long your drive through is breaking down because it can’t catch up, measure your stride and then put down a second piece of tape 4-6 inches behind the first one. Try to relax and reach this closer tape line rather than the farther one. Focus on your drive through more than your stride.
You can also use this line to practice your change-up. Many beginner pitchers tend to give up on their drive through while throwing the change up. You can make sure that not only your stride leg, but also your drive leg makes it to the tape line.
Learning the drop
The thing about the drop that gives beginner pitchers the most difficulty is getting your body in the right position. Your weight should be a little more forward and your shoulders very slightly tilted down in order to deliver the ball on a path that will help it dive. This is very difficult to accomplish with a long stride.
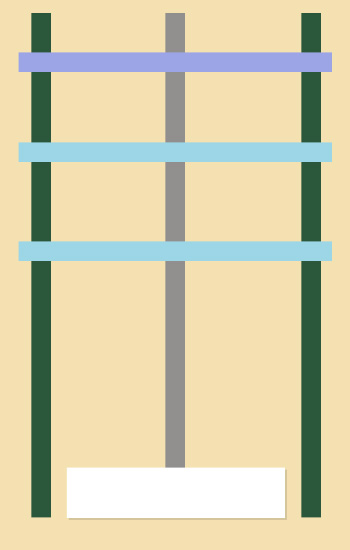
If the farthest tape represents your fastball stride, the closer blue tapes represent the drop zone (everyone’s body type is different, so think of it as a zone rather than a specific point). Measure a zone between halfway and 2/3 of the way to the fastball stride line and mark with tape. Try to land somewhere in the drop zone. DO NOT focus on your foot; focus on your body position. If your body isn’t getting in the right position, check where you landed and see if you’re farther than the drop zone. If you’re closer than the drop zone, you risk the batter noticing a difference in your motion.
Curveball (for a right-handed pitcher. Reverse for lefties)
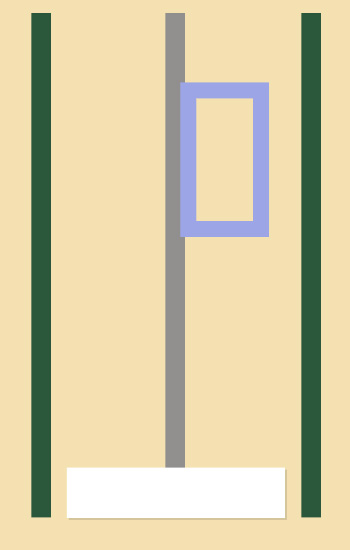
The curve zone is slightly over the power line. Notice it doesn’t reach the green tape; a step over this large will be noticed by the batter. Instead of a huge step, you need only a slight step over combined with good hip resistance. Your front hip should line up with your stride foot rather than falling back so that your hips begin to face the catcher. Think of turning almost like you want to show your butt pocket to the catcher.
Place the curve zone in a comfortable spot based on your normal stride length. For some people, it might be a few inches shorter than the fastball, but it should not be as short as the drop.
Screwball (for a right-handed pitcher. Reverse for lefties)
This is a rough screwball landing zone. You can get away with it being close to that outer tape line. However, your entire screwball motion should take place inside the pitching lane. Don’t step out, or fall out the opposite side when you finish. This is too obvious, and also unnecessary. If you can’t get a good angle on your screwball within these confines, you need to work on your release and your body posture.